Earlier today we announced that the Starbucks app was updated with iOS 6 and Passbook support. A lot of coffee drinkers who own iPhones were quick to download the update (like myself) to test out the new Passbook integration. Unfortunately however, this Passbook support is only for those who live in the United States. Those residing in Canada were left in the dark for now, until the Canadian app is updated with Passbook support.
Luckily however, a workaround has been discovered by iPhoneInCanada that allows us Canadians to get Starbucks Passbook support, and it simply involves downloading the U.S. version of the application. As such in this tutorial you will learn how to make the Starbucks app’s iOS 6 Passbook functionality work in Canada.
How To Get Starbucks Passbook In Canada
Note: Before following this tutorial make sure that you delete the Canadian Starbucks app from your iPhone if you have already installed it.
Step 1) – The first thing you will need to do is create a U.S. iTunes account so that you can download the U.S. version of the Starbucks app. To do this you can follow the embedded video below or click here to follow a written tutorial.
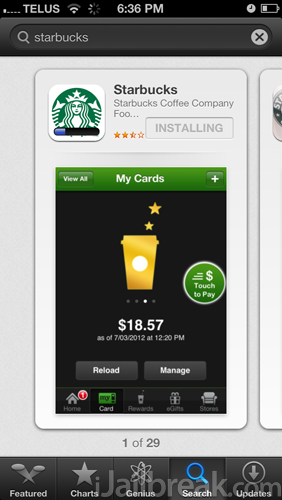
Step 2) – Once you have created a U.S. iTunes account, you can go ahead and download the Starbucks app.

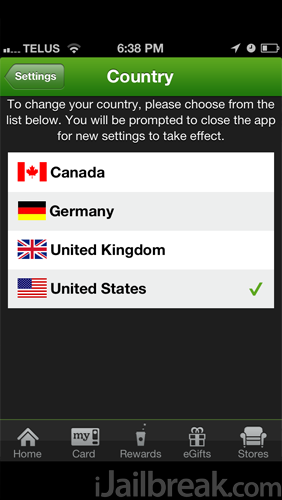
Once the Starbucks app has been downloaded launch it, from the home tab tap on Settings, followed by Country and change the region to the United States. Upon doing this the app will need to restart.
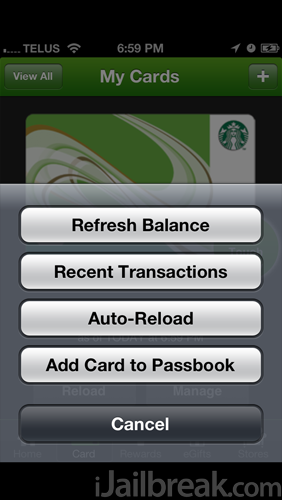
Step 3) – Now that your country settings have been updated you can send yourself a Starbucks gift card or reload a current gift card and add it to the Passbook app. This is done by going into the Card tab, tapping the Manage button, followed by tapping the Add Card to Passbook button.
Once the card has been added to the Passbook app you can begin paying for your Starbucks drinks the cool way. That’s right, you will finally be hip again! This method worked for myself, and I successfully paid for a Starbucks drink in Vancouver, British Columbia. Let us know if this method worked for you in the comments section below.


Leave a Reply