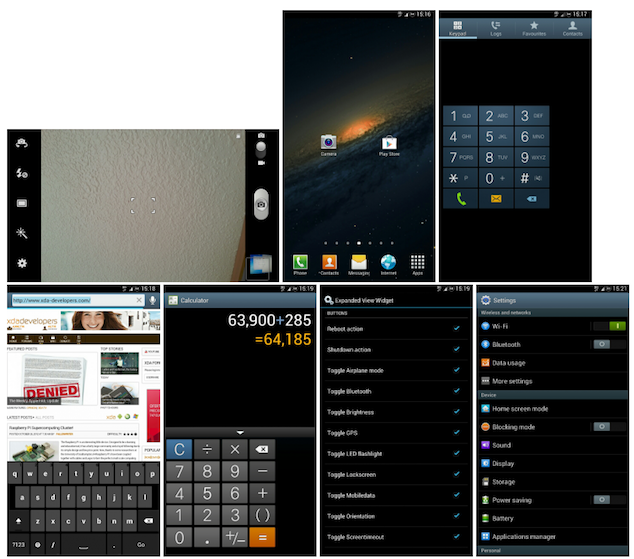
Calls, internet surfing, playing heavy games and using other media applications decreases the battery life of all Android devices. There are only a few powerful Android phones that have a good battery life. Now however, you can further enhance your smartphone’s battery life through the new Battery Plus ROM.
The credit goes to XDA member, Hendrickson. In addition to longer battery life, the new custom ROM also has some exciting features. A 240 DPI display has been added to the ROM, which gives the device an exclusive look. The only limitation reported so far is that the dialer and calculator do not fit on the screen of the Galaxy Note 2. If you want a great display and increased battery life, then this ROM is a perfect option.

Caution
- Carefully read through the guide provided before actually applying it to your device.
- The guidelines provided are only to provide help and education for the downloading of the Battery Plus ROM. No assurance can be provided that the instructions will hold true for your specified conditions.
- If due to following these instructions a problem occurs, we will not be responsible for it. Apply this procedure at your own risk. We won’t be responsible if anything goes wrong.
After going through the list of caution points, there are some additional things you need to consider. First of all your device should be charged properly. Secondly, you should be on the Windows PC, and have a USB cable for your device. The last thing required before moving on to the guide is creating a backup of important files currently on the device.
Guide
- Download the Battery ROM package (link) and Patch 1 package (link) to any preferred location on your PC.
- Copy the Battery ROM v0.2 package and Patch 1 package previously downloaded to the internal SD card of your smartphone.
- Power off the device, and press and hold down the Volume Up, Home and Power button until the screen turns bright. This means you entered ClockworkMod Recovery Mode. To move around the menu use the Volume keys and choose the option using the Power button.
- From the menu choose “Backup and Restore” >“Backup” option. A NANDroid backup will be made for the current ROM.
- Then from the menu, choose “Wipe data/ Factory rest” option and select “Yes”.
- Again go to the menu and select “Wipe cache partition” and confirm the action.
- Choose “Advanced” then click on the “Wipe Dalvik cache” option. Allow the completion of the process before moving further.
- The next step is to flash the files from the memory card. To do, select Install zip from SD card > Choose zip from SD card. Locate and choose the “BatteryPlusRom_0.2v.zip” file to initiate the installation of the ROM.
- After the Battery Plus ROM installation, install the the Patch 1 package in the same way as in step 8.
- After the process completes return to the menu again. Select the option “Reboot system now”. Your Galaxy Note 2 will now reboot to work on the Battery Plus ROM.
- Boot into ClockworkMod Recovery Mode again. From the menu choose “Advanced” and then “Wipe Battery Stats”. This will delete all the previous battery stats of your phone.
The new Battery Plus ROM has now been completely installed on your Samsung Galaxy Note 2. To enjoy the features and the new battery life of your device, charge it to full battery. This will help you to compare the new battery time with the previous one. Feel free to leave comments if you run into any troubles below.
For more custom ROMs for your Android device, and for more guides on how to install custom ROMs to your Android smartphone or tablet, check out iJailbreak’s Android ROMs section.
Leave a Reply