Today was a big day for the iPhone Dev-Team as they released updates to a variety of their Jailbreaking programs including Cinject and RedSn0w. One tool that I am sure a lot of you are going to be happy they have updated was the PwnageTool. This is because PwnageTool is the IPSW customization tool of choice for Mac OS X computers.
In this PwnageTool update, which brings PwnageTool to version 5.1.1, comes support for Jailbreaking A4 iOS devices running the iOS 5.1.1 firmware Untethered. As there is no bootrom exploit for A5 iOS devices however, it is not possible to use a tool like the PwnageTool to Jailbreak your iPhone 4S, iPad 2 or the new iPad.
For those of you who have never heard of the PwnageTool before, it allows you to create a Pre-Jailbroken IPSW (firmware) file that upon being restored will Jailbreak your iOS device. This method of Jailbreaking is ideal for those who would like to preserve their iPhone’s baseband for maintaining the ability to unlock their iPhone. Additionally this method of Jailbreaking is useful for those who would like to customize their Jailbreak for the iPhone, iPod Touch and iPad.
Note: Using the PwnageTool 5.1.1 will not update your iPhone 4 or iPhone 3GS baseband. This means you will be able to unlock after using PwnageTool 5.1.1 to update and Jailbreak the iOS 5.1.1 firmware Untethered.
PwnageTool 5.1.1 How To Jailbreak
Step 1) – The first thing you will need to do is download PwnageTool 5.1.1. You can download PwnageTool 5.1.1 from the iJailbreak Downloads Section or from the direct download link shown below:
Download PwnageTool 5.1.1 for Mac OS X
Note: The PwnageTool tool is only available for the MAC OS X operating system. If you have Windows, it is possible to run the PwnageTool but only via VMWare (we may make a tutorial on how to do this at a later date). Please follow our Sn0wBreeze v2.9.5 how to guide which will show you how to jailbreak the iOS 5.1.1 firmware untethered for Windows by clicking here.
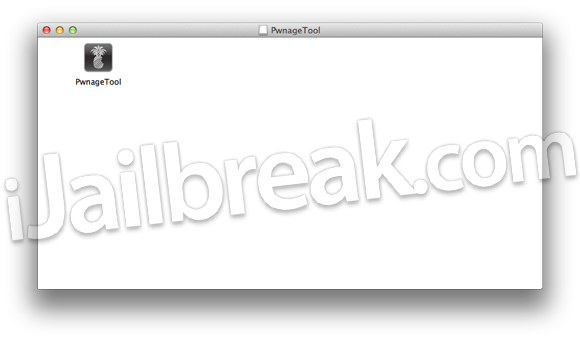
Step 2) – Once you have downloaded PwnageTool, you are going to need to double click the PwnageTool_5.1.1.dmg shortcut. Upon clicking this shortcut a new window will appear with a PwnageTool icon. As expected you will need to double click this PwnageTool icon to launch the PwnageTool.
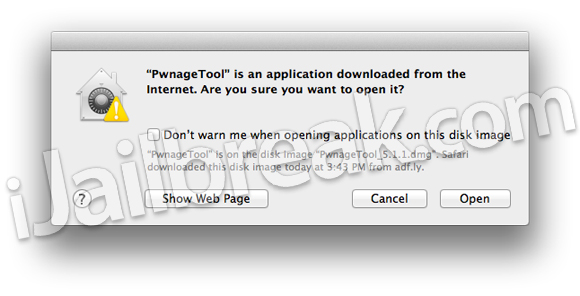
Note: If a popup window appears asking you whether you should open the downloaded application or not you will need to click the Open button.
Step 3) – Once the PwnageTool is up and running, click okay to the pop-up window.
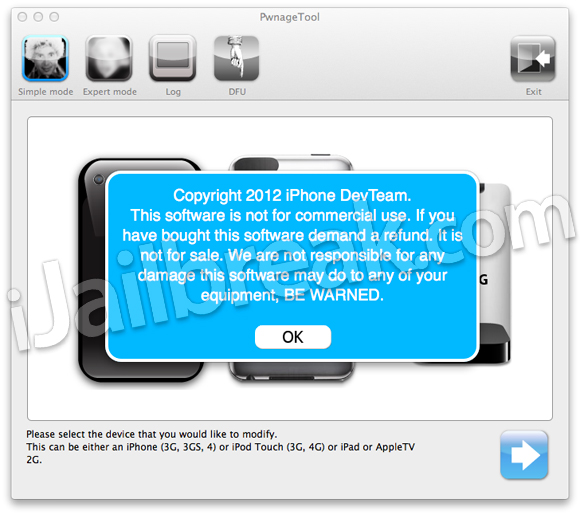
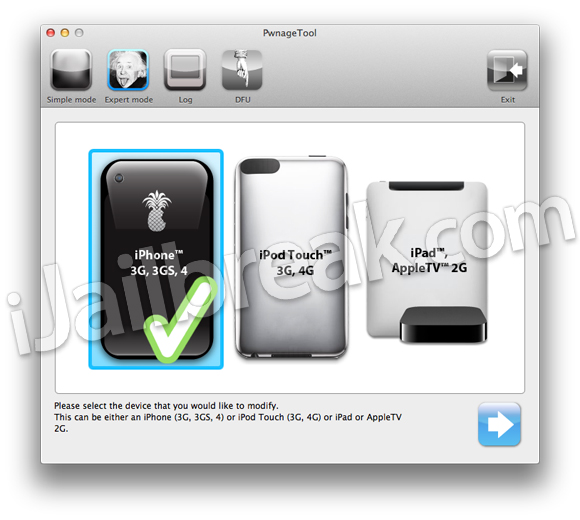
Now, if you have never used the PwnageTool you will notice there are many options presented to you. We will guide you through to process so do not get overwhelmed. The first thing you must do is click on the Expert mode button in the top left corner of the screen (you will notice by default, Simple mode is selected, but we want Expert mode).
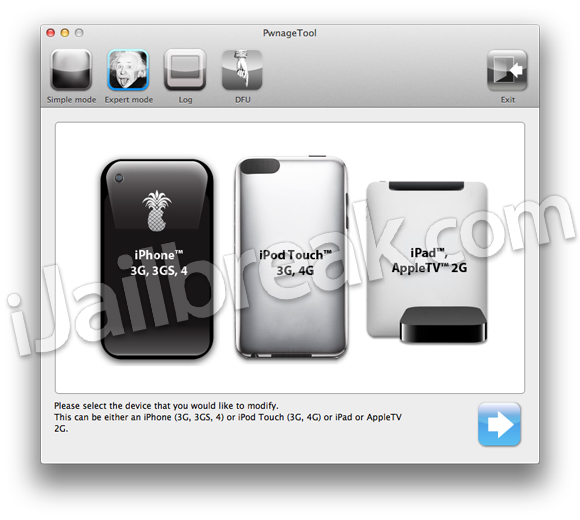
Now once you ensure Expert mode is selected, you will need to select the iOS device you are going to jailbreak, once you do select your iOS device a big check mark will appear over the one you selected. Click the Blue arrow to continue…
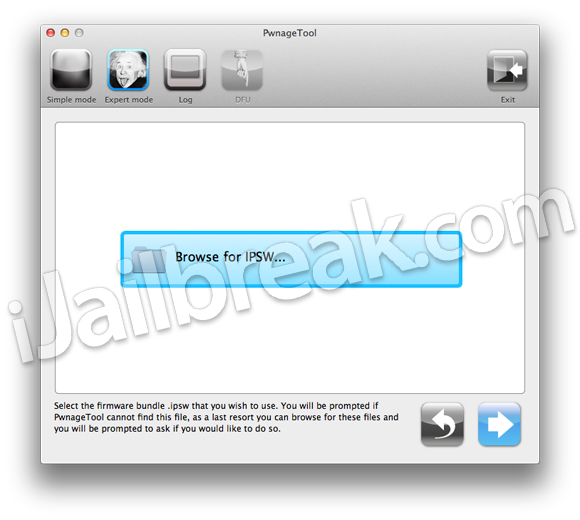
Step 4) – In the next screen you will be selecting the iOS 5.1.1 firmware that corresponds to the iOS device you are jailbreaking. When you click the Browse for IPSW… button the PwnageTool will actually try to find the firmware file for your iOS device for you. If PwnageTool is unable to location your applicable iOS 5.1.1 firmware file you will need to locate it manually by double clicking the Browse for IPSW… button.
Note: Your iOS device’s firmware files are stored in the following directory:
~/Library/iTunes/iPhone Software Updates
If you do not have the iOS 5.1.1 firmware you can go to the iJailbreak Downloads Section and download your corresponding iOS 5.1.1 firmware. Once you have selected your firmware file, please click the Blue arrow to continue…
Step 5) – When you have clicked the Blue arrow you should be at a screen with several options. It is from this screen you can go through the process of customizing your Jailbreak.
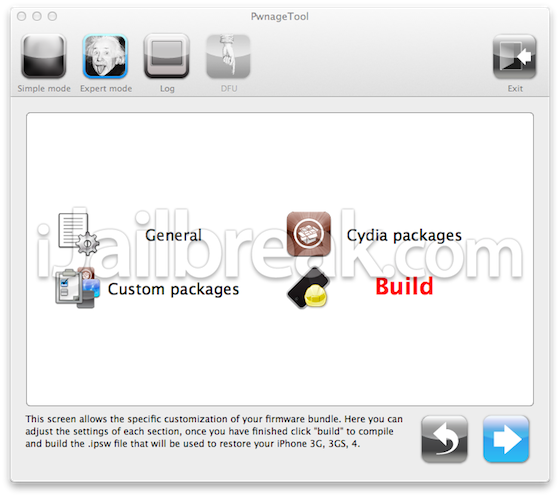
Here is a quick breakdown of what each of the tabs customize:
General Settings: From here you can customize features of your jailbreak such as root partition size (the amount of space dedicated to jailbroken apps), activation options for those of you using an unofficial carrier on your iPhone and you can also re-enable functionality for those on you jailbreaking older iOS devices.
Unlockers only: Ensure you click the activate the phone option if you are using an unofficial carrier on your iPhone.
Cydia Packages: In this area you can select Cydia packages to be pre-installed when you restore the custom firmware file to your iOS device.
Custom Packages: The only thing you need to ensure you do in this area, is that Cydia is selected to be installed.
Once you are done customizing your jailbreak, you will need to go back to the main screen and click the Build button.
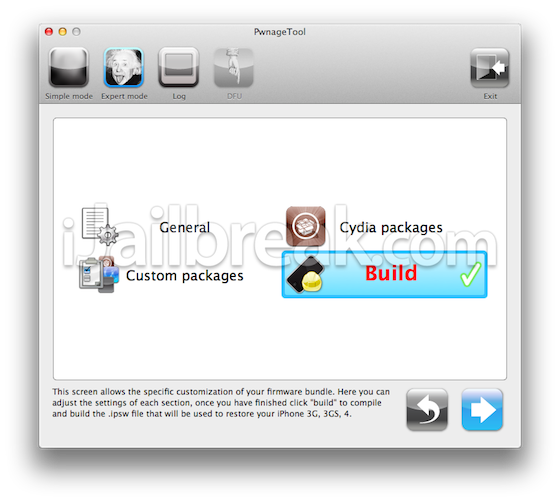
You will then need to select a directory to save your custom firmware file to.
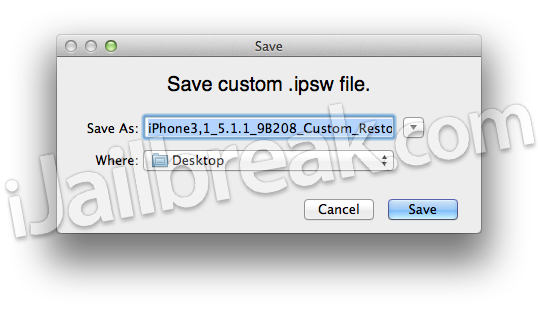
Once you do this you need to wait for it to build. This can take a few minutes…
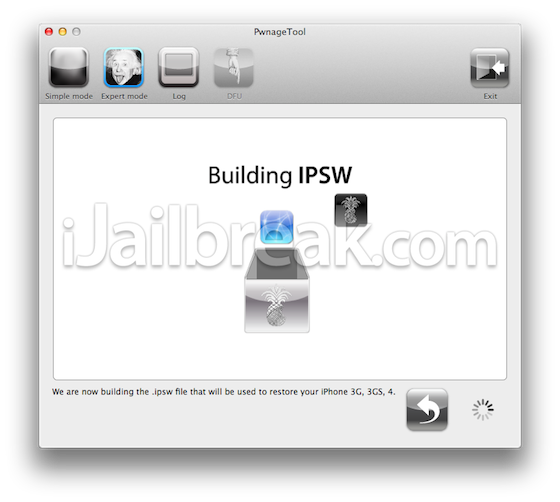 Step 6) – After you have built your custom IPSW, you will need to put your iOS device into DFU mode so that you can restore this custom IPSW to your iOS device (through iTunes).
Follow the on-screen instructions that the PwnageTool presents to you:
- Turn your iOS device off
- Hold Power and Home buttons for 10 seconds
- Now release the Power button but continue holding the Home button for at least 10 more seconds
- You device should now be in DFU mode
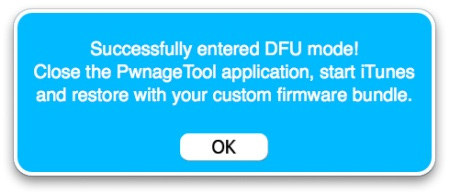
Step 7) – Once your iOS device is successfully in DFU mode, iTunes should pop-up saying your iOS device is in recovery mode (it is actually in DFU mode), iTunes will also prompt you to restore your iOS device.

Hold down the OPTION button and click on the restore button, you can now browse and select your custom firmware file (not the stock iOS 5.1.1 firmware file) you created (it will have the extension _Custom_Restore). Once you have selected this firmware file, simply wait for it to be restored on your iOS device.
Note: Ensure you do not do anything to disturb your iOS device, while iTunes is restoring the custom iOS 5.1.1 firmware file.
Once your A4 iPhone, iPod Touch or iPad turns back on it should be Jailbroken on the iOS 5.1.1 firmware Untethered! Congratulations. For those with any questions or further thoughts please turn your attention to the comments section.
ok
sorry if the question is too obvious, i’m a first time Pwnage tool user, i have an iphone 4 running iOS4.3.3 and i use ultrasn0w to unlock it… and i’m not sure if pwnage tool automatically upgrade my firmware without upgrading my baseband (this tutorial) or i have to do anything else?… i really don’t want to lose my unlock…
sorry if my english isn’t good… and thanks
Pwnage tool will not upgrade firmware. Go ahead with it :)
:((((((((((((((((((((((((((((((((((
It does not work for me….when I tried the custom firmware …. it gave me an error on iTunes…. phone stuck… need to do normal restore to make to work again…. :(((((
DFU Mode countdown seems to be counting at a seriously slow rate – but it might be this Hackintosh!
Worked great on a problematic 3GS with new bootrom ->5.1.1
Lovely work as usual guys!
After going through the whole process after going into DFU mode i hold option restore and go the new custom file a message comes up saying the iphone cannot be restored because the firmware is not compatible!!! Any suggestions guys i really need some help..
This is probably so dumb…. when it says restore, where is the “OPTIONS” button to hold down? -_-